
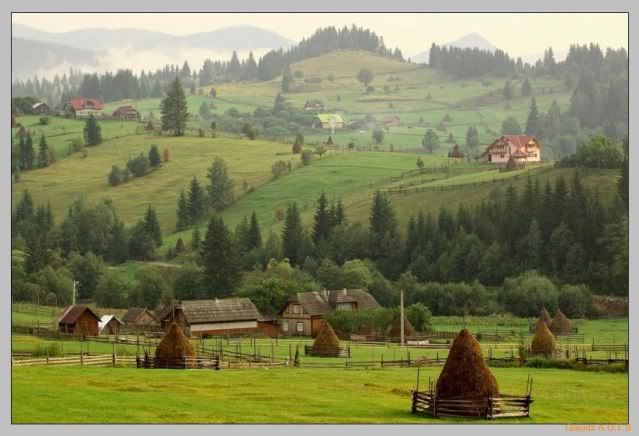
1. Open the file you want to edit. Here is the photo that I will set as an example.
3. Enter quick mask mode by pressing (Q) key on the keyboard. Your photo should look like this after entering quick mas mode.
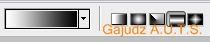
4. Set up the gradient color just like the image below and make sure that the repeating gradient is selected.
5. Using gradient tool draw a line where you want the focal point be, usually it lies along the middle of the image.
6. Exit quick mask mode by pressing (Q) key again. Then, in the menu bar go to SELECT - INVERSE.
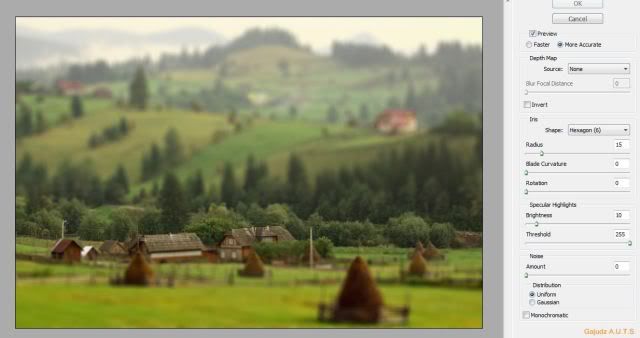
7. Next, go to FILTER - BLUR - LENS BLUR. Calibrate the values in the IRIS and SPECTACULAR HIGHLIGHTS options to get the desired effect.
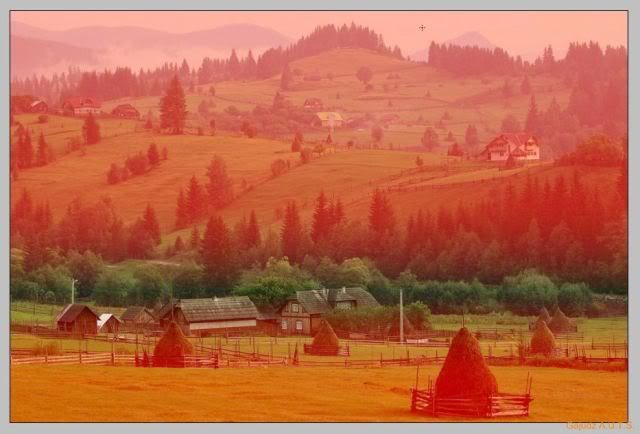
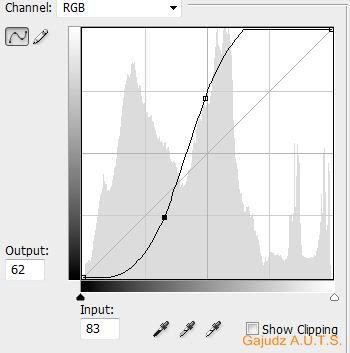
8. To make the image more look like a polystyrene and lichen, go to IMAGE - ADJUSTMENTS - CURVES, adjust the curve line until you are satisfied.
Here is the final product of the image I made.
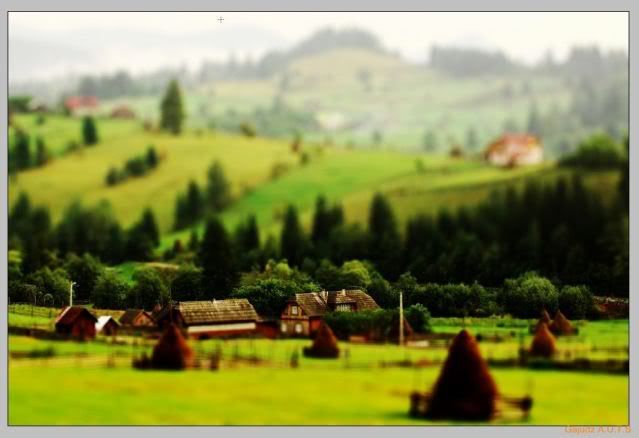
Try it and have fun.
No comments:
Post a Comment