
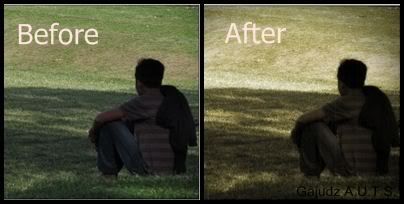
Today I will share how to make a old photo effect in Photoshop.
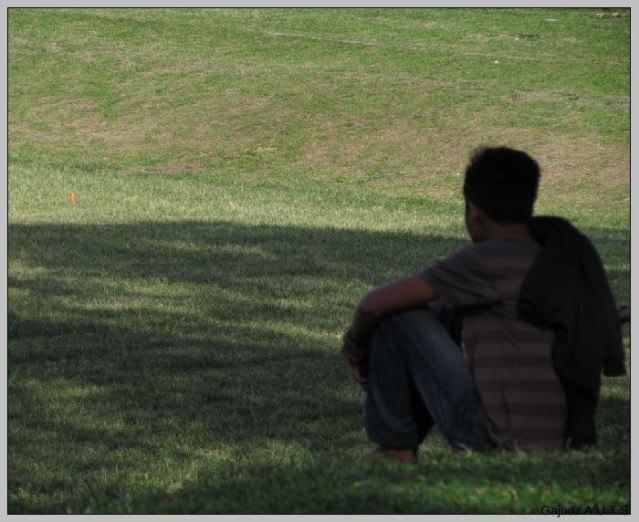
1. Open the image you want to edit. The image below will be my example.
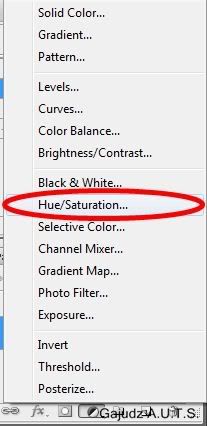
2. Add a Hue/Saturation adjustment layer.
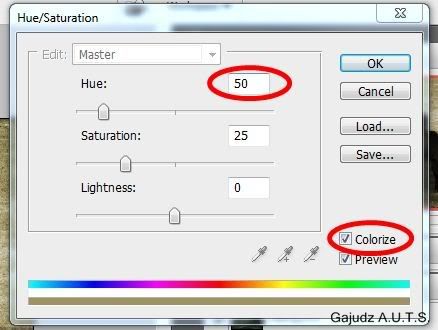
3. The Hue/Saturation window will appear, check the colorize option and set Hue to 50.
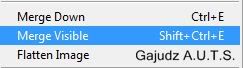
4. Next, while the Hue/Saturation adjustment layer is selected merge the layer by goint to LAYER - Merge Visible or simply pressing the SHIFT-CTRL-ALT-E key simultaneously.
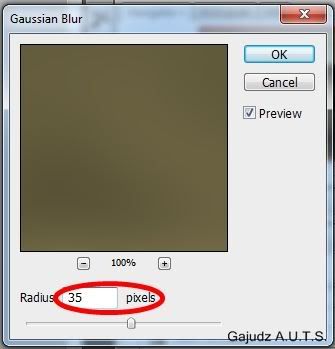
5. Rename the merge layer to GLOW to easily identify it. Select the glow layer and go to FILTER - BLUR - GAUSSIAN BLUR. Adjust to radius until the image is hard to see, I set mine to 35.
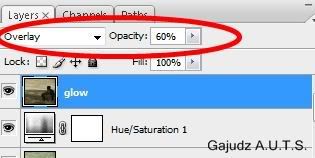
6. Now, change the layer option to overlay and lower the opacity.
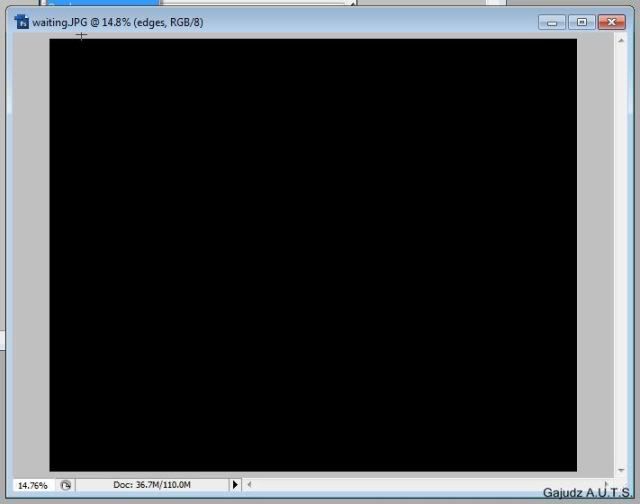
7. Add another layer by holding the ALT key and clicking the new layer icon in layers palette. Name the layer border and fill it with black, use the keyboard shortcut Shift+F5. the layer will be all black but don't be afraid.
8. Select the Elliptical Marquee Tool from the Tools palette. Draw an oblong, like this one.
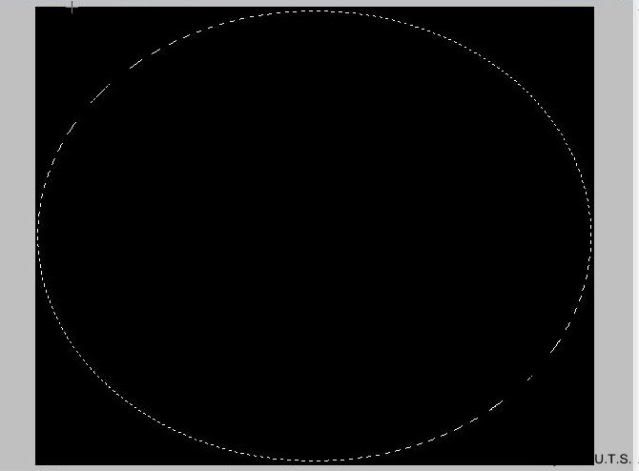
9. Add a layer mask, you can do this by holding down the Alt key and then clicking on the Layer Mask icon at the bottom of the Layers palette. Your image will now look like this.

10. Once again use gaussian blur to blur the border layer, use low radius for this one, mine was set to 25. Lower the opacity of the border layer to make a smooth effect on the edges of the border.

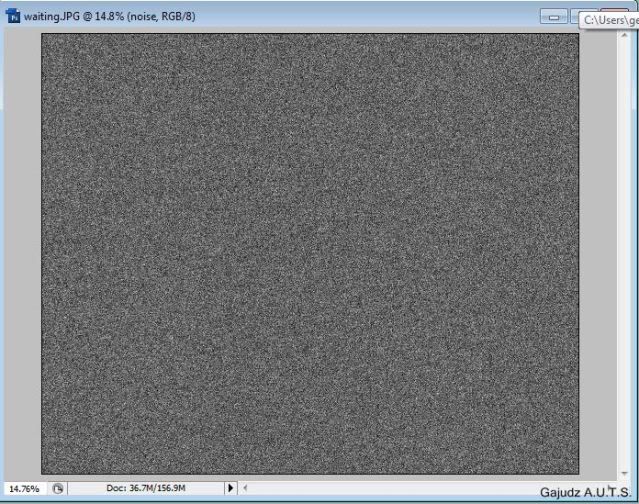
11. Add another layer by repeating step number 7. Name this layer noise, with the noise layer selected, go up to the Filter - Noise - Add Noise. Make sure you select the gaussian and monochromatic options at the bottom of the dialog box, increase the amount of noise. The layer should look like this:
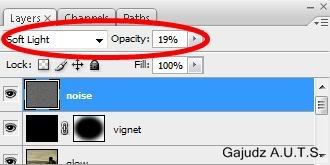
12. Make adjustment to the noise layer, change the layer options and opacity.
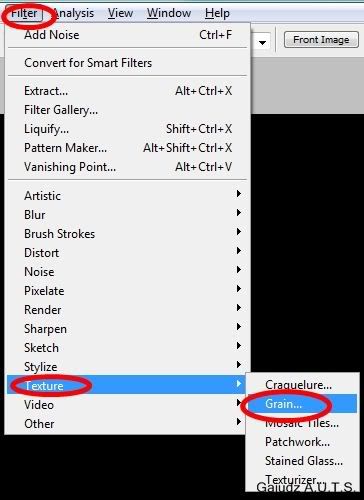
13. Add another layer by repeating step number 7. Name this layer grain, with the new grain layer selected in the Layers palette, go up to the Filter - Texture - Grain.
14. When the Grain filter dialog box appears, first set the Grain Type option to Vertical, then increase the Intensity value to around 70 and the Contrast value to around 80. You may need to play around with those values a bit while keeping an eye on the preview area. What you're looking for is just a few broken vertical white lines which will become dust and scratches on the image. The image will be black again with some dust on it.
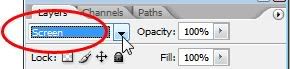
15. To turn those white dots and lines into something that looks more like dust and scratches, simply go up to the Blend Mode option at the top of the Layers palette and change the "Grain" layer's blend mode from "Normal" to Screen.
16. The final result should look like this.
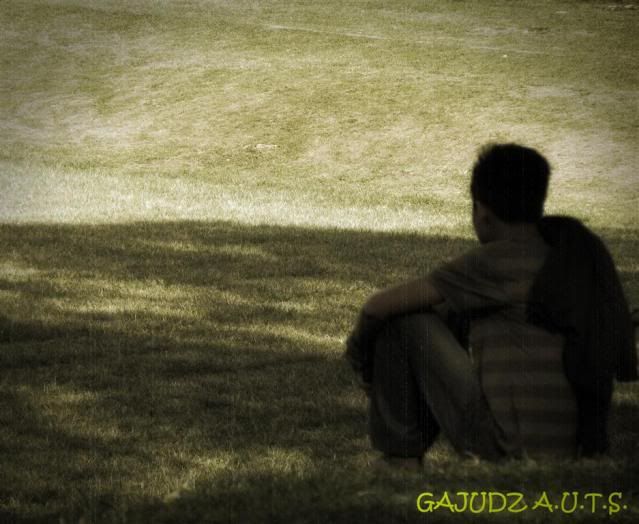
If you want to bring back some colors on it, adjust the opacity of the Hue/Saturation adjustment layer.
The image now looks like a clip from an old movie.
No comments:
Post a Comment